9 Easy tips for WordPress theme
Now that you’ve found the perfect Wordpress theme for your website or blog, it’s time to customise it so that the design reflects your voice and your brand identity. There’s no shortage of ways to personalise your WordPress theme, but we’re going to concentrate on actions you can do within the next 30 minutes to take it from generic to exclusive.
1. Add a Tagline
 The first thing you should do to customize your WordPress tagline. A tagline is what’s shown on search engine results when someone searches for your website name. It’s also the tab title of your home page. The tagline is your opportunity to identity your brand message and rank for your keyword.
For example, if you blog about cupcakes, your tagline can simply be “a blog about cupcakes.” But, if you blog about the history of cupcakes, your tagline may be “the delicious history of cupcakes.” What words would someone use to find your site? That’s how you determine what your tagline should be.
To add a tagline, go to Settings in your WordPress dashboard. Click on General under the Setting tab, and customise in your Tagline.
The first thing you should do to customize your WordPress tagline. A tagline is what’s shown on search engine results when someone searches for your website name. It’s also the tab title of your home page. The tagline is your opportunity to identity your brand message and rank for your keyword.
For example, if you blog about cupcakes, your tagline can simply be “a blog about cupcakes.” But, if you blog about the history of cupcakes, your tagline may be “the delicious history of cupcakes.” What words would someone use to find your site? That’s how you determine what your tagline should be.
To add a tagline, go to Settings in your WordPress dashboard. Click on General under the Setting tab, and customise in your Tagline.
2. Change Your Permalink Structure
While you’re in your dashboard’s Settings, head on down to the Permalinks option. Here, you want to change your Permalinks structure from Default to Post Name. Why? Two reasons. You want to increase your search engine optimization (SEO) by using the keywords in your post’s title. Also, and more importantly, humans are going to read your blogs, so a descriptive permalink is more user friendly. Which would you rather click: www.myblog.com/my-year-with-dragons www.myblog.com/?=p179
3. Add a Favicon
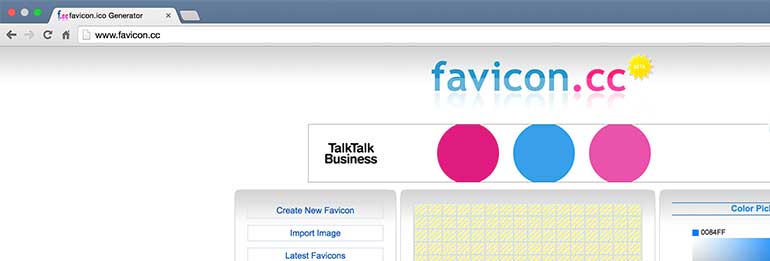
That little icon to the left of the tab title is called a favicon. It’s also what shows up when you bookmark a page. Your theme may come with a default favicon, but why not customize it for extra brand awareness? Adding a favicon is straightforward. You’ll locate a favicon you like, or create one yourself. Here’s two great resources for favicon creation: Favicon Generator and Favicon.cc. Once you have the perfect favicon, save it as an .ico and upload it with your host’s file manager. This will overwrite the current generic favicon.
4. Add Google Fonts
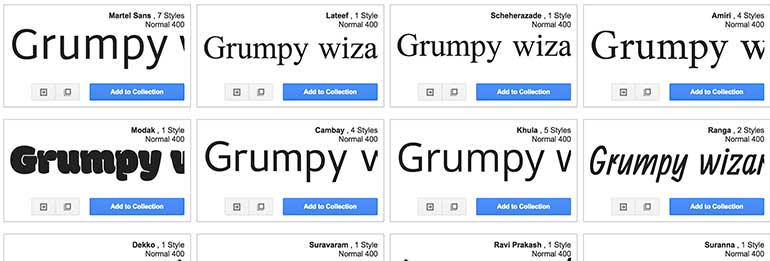
If you’re a font junkie like me, you should definitely explore your font options. Of course, you can’t just add any old font onto your WordPress site. Why? Because unless the browser has the font installed, it will only show the default font. Google to the rescue! Google actually contains a font library of over 650 font families. This means, when you install one of those fonts on your site, it will actually display the correct font for your visitors. Installing Google Fonts on Wordpress is dead simple. All you need is a plugin. This one, specifically. You can either download it or access it from your dashboard’s Plugin tab.
5. Change the Background Colors
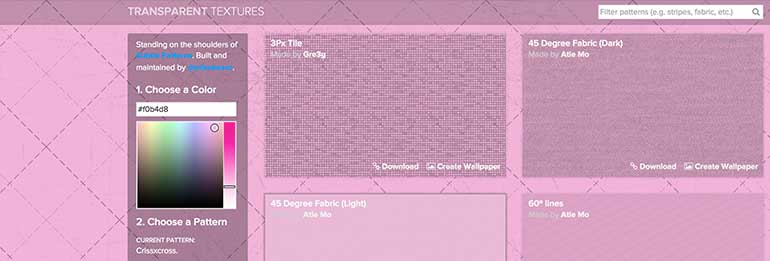
Sometimes you love a theme, but the default background colors don’t match your brand. Perhaps you want it to be more feminine, or maybe more monotone. Don’t give up hope! Many of the WordPress themes here on Gridgum offer a backend customizer, but if you find one that doesn’t, you can still change the colors easily. Go to Appearances tab and select Background. Next, change the color or even upload a textured image to serve as your background. Here's a great resource for free website textures.
6. Customize Your Login Page
Instead of seeing the standard, bland gray-and-white WordPress login screen, make it personal with an image. Of course, there is a way to create a custom blog from scratch but there’s an easier way to do it-- a plugin! One of the best plugins for this is Custom Login. Custom login allows you to change your WordPress login screen.This is especially useful if more than one person is logging into your site. You can also use this if you just want to beautify your login page.7. Get Social
Of course, nothing quite separates you from the crowd as social media. Your website should always contain links to your social media accounts. Most WordPress themes come with a default collection of social media icons, However if you want further customize your social media Icons there is a plugin for that too. Simple Social Icons allow you to Customize your icons to match your website identity. With this plugin, you can change color, hover effects, icon size and more.8. Add an Opt-in Box

You need a newsletter. First of all, if you run a blog, you want subscribers to stay updated and connected to your valuable information. You can reach out personally to your readership and ask them to join you. This is called email marketing. Fortunately, there’s a lot of great email marketing solutions out there to try, but our favorite is MailChimp for WordPress because you can customize it to match your color scheme. Plus, it’s free, and it’s a plugin, so it can’t get much easier than that!

Comments
No comments yet.