How to elevate stock images / 16 September 2017 - 18:32:51
If you’ve had the opportunity to check out our article, 33 Resources for Finding Fresh, Free Stock Photos, you now have a lot of stock images for your website. But, you may not want to upload the image without adding your own personal touch.
Fortunately, you can tweak stock images without hours on Photoshop. There’s plenty of online photo editors you can use. Two popular choices are PicMonkey and Canva, both free and full of editing options. For this guide, we’ll use Canva.
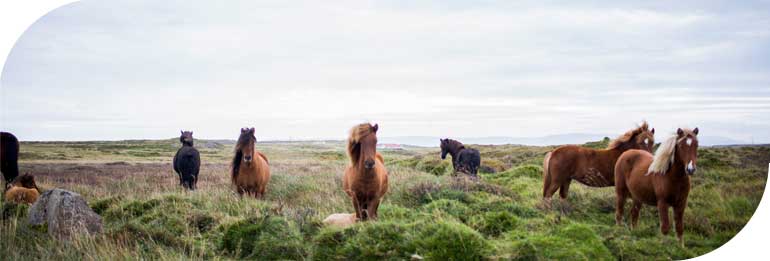
This is the image we’ll be working with. Happy horses, found on Unsplash.

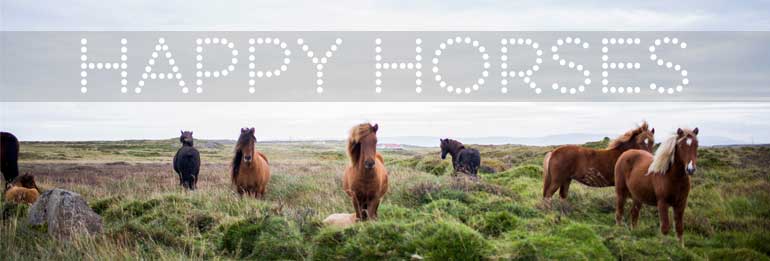
1. Add Text
Place a semi-transparent layer behind text to create impact.
2. Make it Black and White
There’s something about black and white imagery that adds elegance and thoughtfulness to an image. In Canva, this image is achieved with a grayscale filter.

3. Go Instagram
Don’t just stop at grayscale. You can also add filters, like the 1977 filter used below. Canva has a huge list of Instagram mimics you can use on your images in Canva.

4. Add Stickers
It’s fun to just stickers to your images. Of course, you don’t want to add too many stickers to your images, but graphic elements can spruce up and add humor to otherwise serious images.

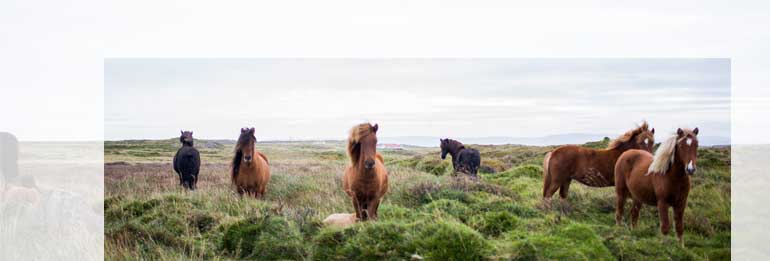
5. Crop It!
Use crop to zoom in on parts of your photo that you want to focus on.
6. Add a Bokeh
Bokeh is an out of focus blur that sometimes translates as orbs of light. Create more visual depth on your photo by overlaying (and then making transparent) the bokeh image over your base image. Here, we used bokeh from 19Frency94.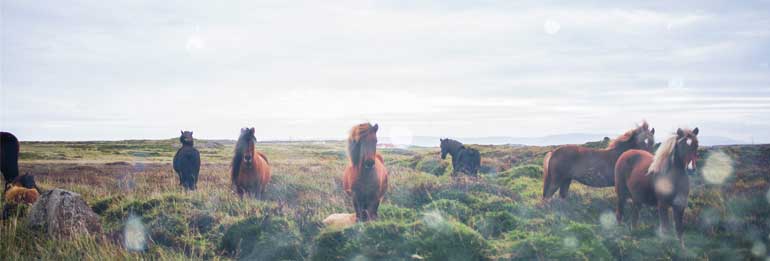
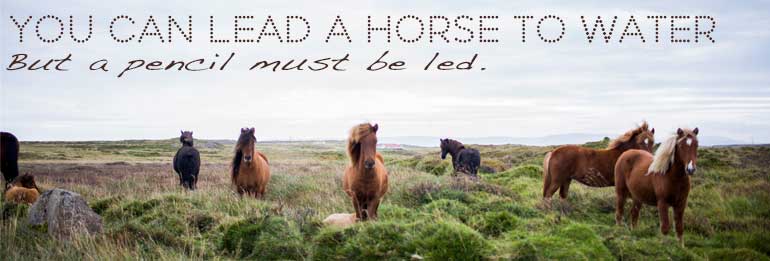
7. Add Quotes
Combine images and text to create an attention grabbing element on your blog or website.
8. Frame It
Add an interesting border or frame around your photo, and make it a part of your branding as your trademark shape.
The Final Word
Creating unique, one of a kind images doesn’t require a lot of hard work. Explore Canva, PicMonkey, or any other online editor of your choice to personalize stock images for your audience.Share:
Tags:
Free Stock Photos
COMMENTS
Categories


Comments
No comments yet.